
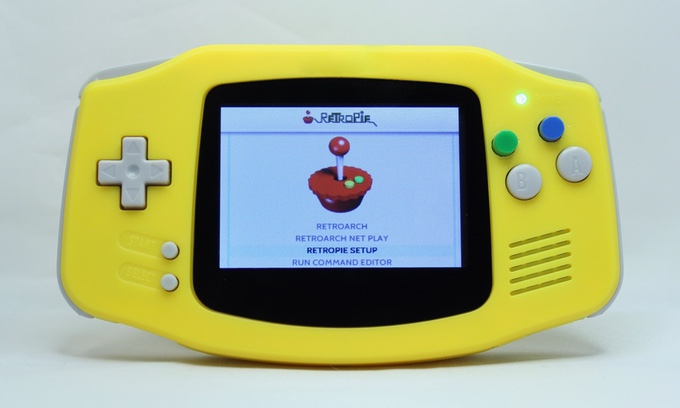
Despite not having been updated since 2015, Google Now is still my Launcher of choice because of the articles it recommends for me in the swipe left screen. Today’s mildly interesting read came in the form of a Kickstarter campaign for what are essentially a pair of custom circuit boards that fit inside of a (heavily modded) GBA shell.
Although cramming an RPi inside of an existing handheld shell has been done many times before, I would consider the process to be pretty tricky especially if you don’t have some understanding of electronics. It’s probably not something I would attempt, being a fat fingered oaf who’s not especially handy with a soldering iron. I guess these things are designed with people like me in mind, but that’s not to say building one is as simple as dropping it into a GBA shell and screwing it shut. Depending on your model of choice, there is still some soldering to do, and both versions also require some case modding too.
Version 1: Freeplay Zero.
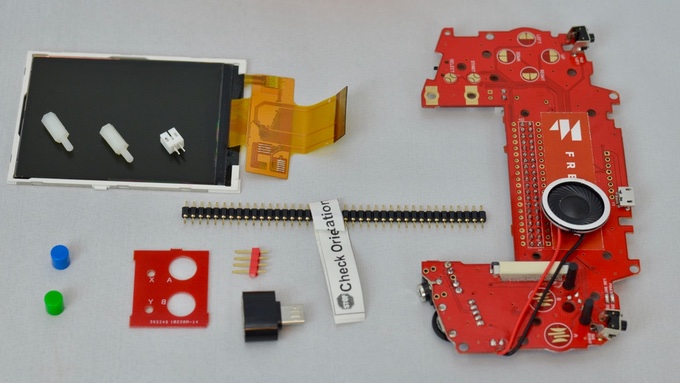
The Freeplay Zero is based off of an existing concept known as the Game Pie Advance. Basically all you receive in this kit is the custom circuit board, an LCD, a GPIO header and some other bits and pieces. You supply your own RPi Zero, shell, SD card, battery etc. The idea is that with some tinkering you’ll be running RetroPie in a GBA form factor, without requiring any real knowledge in electronics. The internals should also end up looking pretty neat and tidy, at least compared with most DIY projects that don’t utilise a custom board.
Version 2: Freeplay CM3.
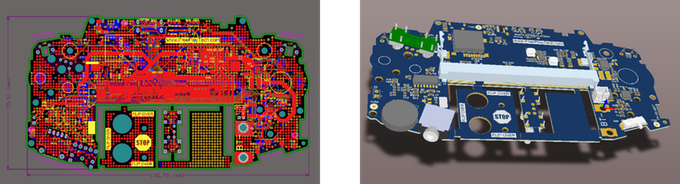
This is a brand new project that hasn’t been born out of a previous concept, and it uses a different circuit board which has the RPi3 hardware already onboard. The board is based on the Compute Module 3, which as I understand it is an alternative (flat) form factored RPi3 originally intended for industrial applications. This is essentially a more powerful version of the Freeplay Zero that does not require you to supply your own Pi, though you’ll still need to get a shell and the other bits and bobs to complete your machine. The Kickstarter campaign also mentions that there shouldn’t be a need for any soldering on this version, though that’s not set in stone yet.
Both versions come with an extra PCB and 2 face buttons to be used as X and Y for those emulators that require them, and both versions also support HDMI output in case you wanted to play on a big screen. If you read the campaign to the bottom you’ll see that the campaigners are very forthcoming about potential supply issues and other things that could possibly go wrong in both projects.
I think this is a cool product, but I must admit I’m not sold on the finish of the machine, with ill fitting inputs and outputs poking out of various existing openings on the GBA shell. I totally understand that to build a circuit board from scratch based on an existing shell must be a very difficult task though. Someone in the comments suggested blanking plates and rubber grommets to seal these off when not in use, I reckon this would definitely help to give it a more professional looking finish.

The Freeplay Zero is going to cost $89 for an ETA of September 2017, and the CM3 will cost you $149 for delivery a couple of months later. With $6000 left to raise in 15 days, it’s looking fairly likely that this campaign will be a success. I hope it is, if only to see what might come in the team’s future projects.